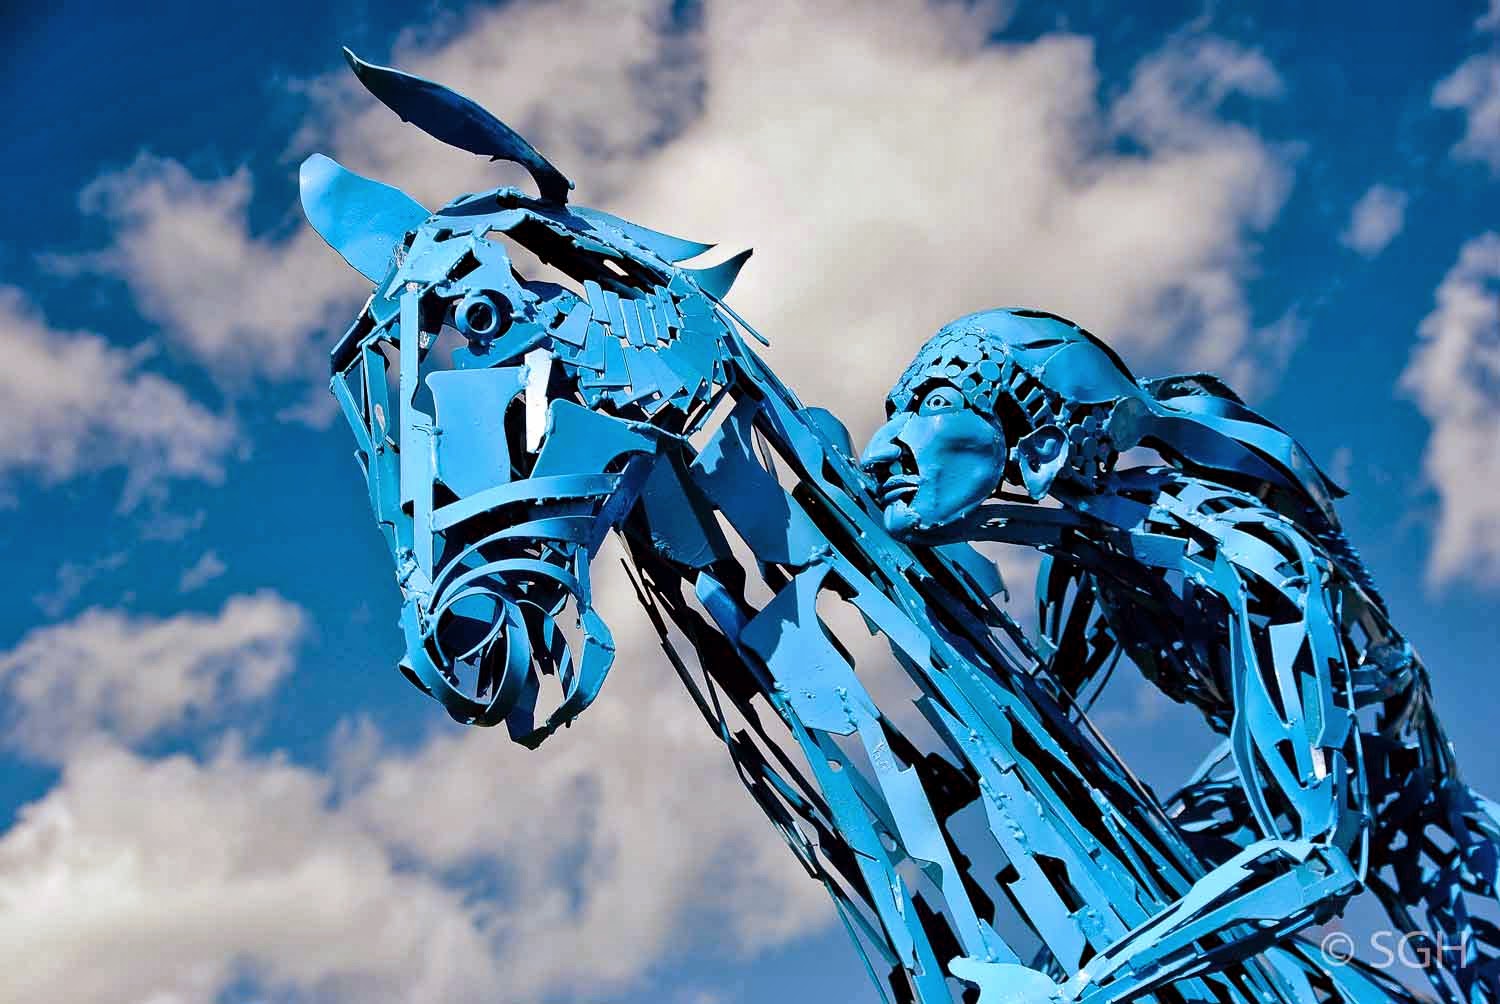
Kinnisis (Detail) by Bill Lishman
In comparison, I'm told you can adjust 64 things on a typical digital camera, simultaneously! My mind simply can't cope with that many possibilities. But when my wife chose to go to Haliburton School of the Arts for a week for a quilting workshop, I signed up for a travel writing and photography workshop. One of the best things I've ever done! This post is illustrated with photos taken during our week there.

Haliburton School of the Arts
Our instructor cut through all the possibilities by suggesting that we think of three simple things - shoot in the 'Aperture' setting, and adjust the ISO and the white balance. Now my mind can cope with three things, and I found switching to Aperture instead of Auto was easy. In most typical light situations you just keep shooting as if you were on Auto - but you can adjust that aperture, or the shutter speed, when you need to.
Redwing Frond by Darlene Bolahood
What you do have to do when shooting in Aperture mode is keep an eye on what your camera is telling you, to make sure the camera doesn't choose a shutter speed too slow. I usually try to shoot outdoors at a speed of 1/125, which ensures a sharp picture. In normal light this will be fine. But in darker situations, your camera might set the speed down at 1/2 sec. for example, which is far too slow. Then you know you have to use a tripod, or else change your aperture setting to let in more light and allow the shutter speed to be faster.

Park Bench and Sprinkler in Morning Light
But the beauty of digital is that you can experiment, and just shoot in different settings all you want until you see what works. I still shoot multiple pictures to get what I want; I just need to learn to delete the others!
Of the three things he told us, I still don't understand the white balance, and often forget to set it. But if you're shooting indoors especially, it does make a difference. The shot above was taken when our instructor insisted we come out to practice photos just after sunrise, in the 'Golden Hour' for photography. And as you can tell by the first three pictures above, the school has a great outdoor sculpture collection.


So if you've been shooting on 'Auto', and occasionally finding your photos just aren't what you want, as I found, you might try shifting to 'Aperture' and starting to learn more settings to give you great pictures instead of just good ones. I have a long way to go, but my course in Haliburton did get me off the 'Auto' setting.
Lovely photos. Now I will confess I'm stuck on "auto". Oh sometimes by mistake it switches to portrait or another setting but I'm good with just letting my little camera get me through. Even when I lugged my daughters SLR camera and lenses along on our Europe trip, it spent most of the time on auto. I seriously need a course or 4 to ever get further. Just one of those things on my bucket list. Thanks for clearing things up.
ReplyDeleteOh, I so need to take a course where I'm hands on and can take my time. I find this all so confusing. Ack! Thanks for sharing again. I love the tree shot, the feather and the sun behind the sprayer. Beautiful!
ReplyDeleteGreat photos! I use Auto a lot too, but I also use Tv at times. You did good!
ReplyDeleteThat sculpture work is stunning!
ReplyDeleteExcellent article! I've been meaning to try this so thanks for the inspiration.
ReplyDeleteGood tips! I always shoot in the manual mode and adjust my white balance and ISO accordingly. It's amazing how little light you can shoot in in the higher ISO settings!
ReplyDeleteI've been really impressed with your photos; I think you're way ahead of me! I'm still a little scared of 'manual'.
DeleteCome up to the Peninsula to teach me, I was fascinated. Love the Bench in morning light the absolute best, then the tree.
ReplyDeleteLove that park bench!!!
ReplyDeleteDoes your camera shoot Raw? I always had trouble with Shade vs. Cloudy white balance. With raw you can change the WB after the fact. The editing also seems to be easier. Nice photos. I especially like the sculpture shots.
ReplyDeleteI've tried Raw, but decided I was satisfied with JPEG files for now. I may still go back to it someday.
DeleteI need to take a course like this. I used to shoot with a 35 mm SLR camera, and did fine, but there are too many choices on the digital.
ReplyDeleteGreat article! Occasionally I may shoot in 'Shutter' priority or Manual, but I mostly shoot in 'Aperture' mode. Learning to manipulate your camera will get you the results you truly want.
ReplyDelete